What Homeowners Need to Know About Self-Leveling Underlayment
Uneven floors can cause all sorts of headaches when installing new flooring. Whether you’re looking at hardwood, laminate, or luxury vinyl, a flat and level subfloor is the foundation of a lasting, great-looking floor. That’s where self-leveling underlayment comes in. Here’s a practical guide to what it is, how it works, and why it matters for your home in Chicago.
What is self-leveling underlayment and why would I need it?
Self-leveling underlayment is a type of compound, usually cement-based, designed to spread out and fill low spots or minor dips in your subfloor. When poured, it flows out and settles into a smooth, even surface. If you have dips, humps, or uneven spots in your floor, self-leveling underlayment makes sure the area is flat before new flooring goes in. This is important for just about any flooring product, from luxury vinyl plank to engineered hardwood. Without it, you might notice soft spots, gaps, or squeaks after installation.
How do I know if my floors need self-leveling?
A quick check with a long level or straightedge will show if your floor has problem areas. Common signs are visible dips, uneven transitions, or a floor that feels bouncy or unstable in certain spots. In older Chicago homes, especially in basements or on upper stories, subfloors can settle or warp over time, making self-leveling a smart step before any new flooring installation. If you’re unsure, a professional assessment is the best way to know for sure.
Can self-leveling compounds fix any kind of subfloor problem?
Self-leveling underlayment is great for smoothing out minor issues, but it’s not a fix for every subfloor problem. Deep cracks, rot, or structural issues need to be repaired first. For example, if there’s water damage or soft spots from old plywood, those areas should be replaced or repaired before any leveling compound is applied. If you want to learn more about the right approach for your subfloor, check out our subfloor preparation service page.
What’s the process for installing self-leveling underlayment?
The key steps usually go like this:
- Clean and prep the subfloor: Remove all dust, debris, adhesives, and any loose material. The surface has to be solid and clean for the compound to bond well.
- Seal gaps and cracks: Any big gaps or seams may be filled or taped off to keep the compound from leaking through.
- Apply primer: Most self-leveling products need a primer to help them stick. This also helps prevent rapid drying and cracking.
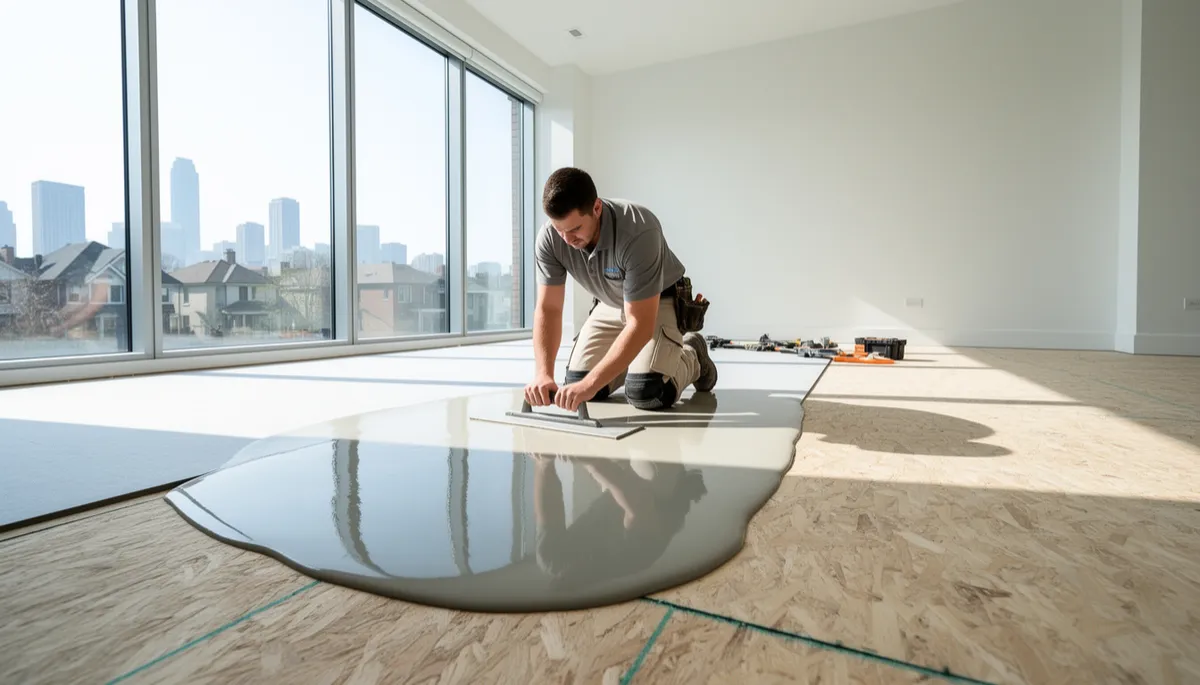
- Mix and pour: The compound is mixed with water to the right consistency, poured onto the floor, and spread with a gauge rake or trowel. It seeks its own level as it settles.
- Let it cure: Depending on the product and thickness, cure times can range from a few hours to overnight before you can walk on it or start installing new floors.
Professional installers have the tools and experience to get a perfectly flat surface. This step matters a lot for the final result, especially with products like luxury vinyl plank flooring and hardwood flooring.
Does self-leveling underlayment work with all types of flooring?
It works with most modern flooring options, including laminate, engineered hardwood, luxury vinyl plank (LVP), luxury vinyl tile (LVT), and even some carpet installations. The main thing is to match the underlayment and installation method to your specific flooring type. For floating floors, a level surface is essential to avoid flex or bounce. For glue-down or nail-down installations, a flat subfloor helps the adhesive or fasteners hold better. If you’re considering laminate or vinyl, you can learn more on our laminate floors and luxury vinyl tile flooring pages.
How long does it take, and will I need to leave my home?
In most cases, applying self-leveling underlayment in a single room can be done in a day. The compound needs a few hours to set before it can be walked on, and up to 24 hours before installing new flooring. For whole-home projects or areas with thicker pours, it might take a bit longer. Most homeowners don’t need to leave their home, but you’ll want to avoid foot traffic in the work area until it’s fully cured.
What can go wrong if self-leveling isn’t done right?
If self-leveling underlayment is applied incorrectly—too thick, too thin, or without proper prep—you can end up with cracks, loose spots, or a surface that isn’t truly level. This leads to problems down the line, like floors that don’t lock together tightly, moving boards, or visible seams. Professional preparation makes a big difference in how your floors look and perform for years to come.
Frequently Asked Questions
Can I install self-leveling underlayment myself?
DIY kits are available, but getting the surface truly flat requires experience. Mixing, pouring, and spreading the compound quickly and evenly can be tricky, especially for larger rooms. For most homeowners, hiring pros is the best way to get a smooth, reliable result.
Is self-leveling underlayment safe to use in basements?
Yes, but moisture can be a concern in Chicago basements. It’s important to check for moisture issues before applying any underlayment. Sometimes a moisture barrier is also recommended underneath. Ask your installer what’s best for your space.
How thick can self-leveling underlayment be poured?
Most products are designed for up to 1 inch thick per pour, but some can go thicker. For deep dips or repairs, multiple layers might be needed. Your installer will know what’s best for your subfloor and chosen flooring.
What happens after the self-leveling underlayment is installed?
Once cured, the new flooring can be installed right on top. The level surface helps ensure a snug, lasting fit for your floors—no gaps, squeaks, or soft spots.
If you have questions about self-leveling underlayment or you’re planning a new floor in the Chicago area, reach out to the team at Floortext LLC. We’re happy to take a look and recommend the best approach for your home.